
17. May 2026
From Zero to Hero: Your Guide to DIY Plastering (and When to Call IntraFinish Plastering!)
As a homeowner, you’ll eventually need to give your walls and ceilings a little plastering love. Whether it’s for minor cosmetic fixes or a complete re-plaster, this task can feel a bit daunting at first. But fear not! We’re here to guide you through the essentials of plastering with a friendly touch.
In this post, we’ll share some helpful tips that are perfect for beginners and DIY enthusiasts eager to tackle their first plastering project.
A Friendly Reminder
Before we dive in, if you’re completely new to plastering, it might be wise to consider hiring a professional. A poorly executed job can lead to costly repairs down the line, so sometimes it’s best to leave it to the experts!
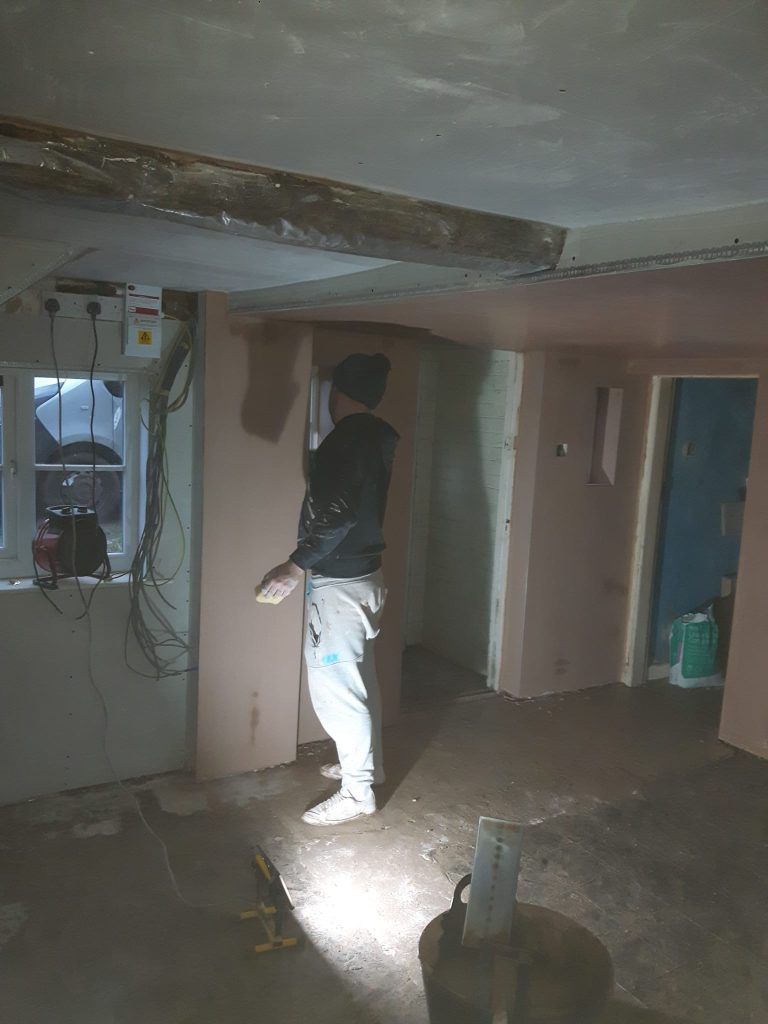
Step 1: Assess Your Walls - Start by examining the surface you plan to plaster. Is it mostly even or does it have some bumps and holes? This will dictate the tools you’ll need. For minor imperfections, a spatula and level might suffice, but more damaged walls will require some specialized equipment.
Step 2: Prep Like a Pro - Preparation is key! Make sure to clean the wall by removing any loose plaster, dust, or debris that could prevent proper adhesion. If you’re working on new plasterboard, don’t forget to use jointing tape called scrim, to seal those pesky gaps.
Step 3: Prime It Up! - Applying a primer is essential for ensuring your plaster adheres well. Use a PVA, SBR or a Grit adhesive over the area you’re going to plaster.
Step 4: Mixing Magic - When it’s time to mix your plaster, always add the plaster to water (not the other way around!). Use a paddle mixer for the best results, mixing until you achieve a smooth, lump-free consistency. Remember, only mix what you can use within about 30 minutes—plaster sets quickly!
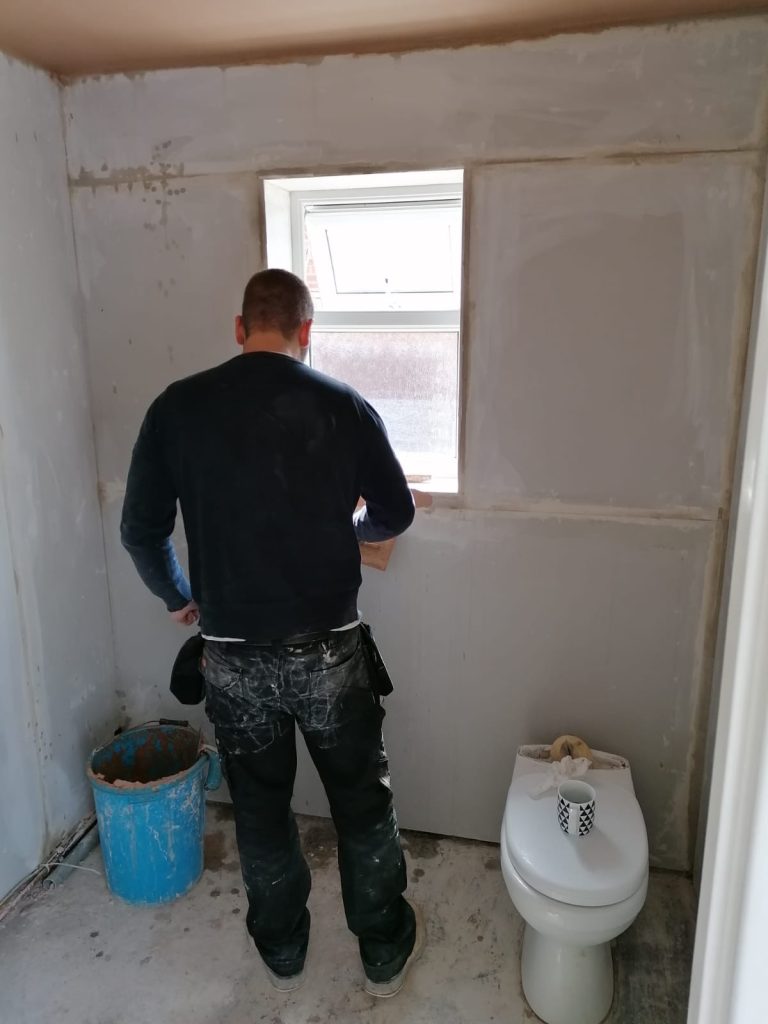
Step 5: Apply the First Coat - With your mixture ready, it’s time to apply! Start at the top corner of the wall, (If you're right handed work left to right) and work your way across using firm pressure and smooth strokes. Don’t worry about perfection on your first coat; just focus on getting an even layer down.
Step 6: Patience is Key - Allow each coat of plaster to pick up before applying the next one. Going over the first coat, with a second coat when still wet can lead to issues later on. (Be patient!)
Step 7: Gather Your Tools - While you don’t need every tool available, having some essentials like a trowel, hawk (hand-board), splash brush, an inch brush, level, and corner tool will make your life easier and not forgetting a mixing bucket and a mixer. Consider investing in good-quality equipment for the best results.
Step 8: The Finish - You won't always get a great finish when you first start to plaster, but aim to have the finished wall flat, smooth and without graters and missed spots.
Safety Tips
• Wear Protective Gear: Always wear gloves and goggles to protect your skin and eyes from dust and splashes.
• Ensure Good Ventilation: Plaster can release dust particles; make sure your workspace is well-ventilated.
• Use a Dust Mask: If you’re sanding or working with dry materials, wearing a dust mask will help protect your lungs.
• Be Mindful of Electricals: Before starting work near electrical outlets or fixtures, ensure they are turned off to avoid any accidents.
Common Pitfalls to Avoid
• Skipping Preparation: Neglecting surface preparation can lead to poor adhesion and uneven finishes.
• Overmixing: Mixing too long can speed up the setting process of your plaster in the bucket.
• Rushing Drying Times: Applying additional coats before the previous one has picked up enough, can cause problems later on.
• Using Incorrect Tools: Using inappropriate tools can result in uneven surfaces; always choose tools suited for your specific task.
Feeling Overwhelmed? We’re Here for You!
If all of this sounds a bit overwhelming (which is totally normal!), remember that you’re not alone! Whether you’re looking for guidance or need someone to handle it all for you, don’t hesitate to reach out for help. IntraFinish in Sandbach are ready to assist with any plastering needs you may have.
Conclusion
Plastering may seem like a daunting task at first glance, but with the right preparation and knowledge, you can achieve beautiful results! Remember to take your time, follow safety precautions, and avoid common pitfalls along the way. And if you ever feel stuck or overwhelmed, don’t hesitate to call in the professionals—IntraFinish Plastering are just a message away! Happy plastering!
Contact IntraFinish Plastering:
www.intrafinishplastering.co.uk/contact-us/
✉ enquiries@intrafinishplastering.co.uk
Let us help you restore your walls and refresh your home-get in touch today!
Connect With Us
If you found this article helpful and want to support us, you can Buy Me a Coffee here. Every coffee helps us share more tips and advice with homeowners across Alsager and Cheshire East & all over the UK. Thank you for your support!
For more plastering tips, behind-the-scenes videos, and project showcases, check out our YouTube channel: @intrafinishplastering.
© 2026. The content on this website is owned by IntraFinish Plastering. Do not copy any content (including images) without our consent.